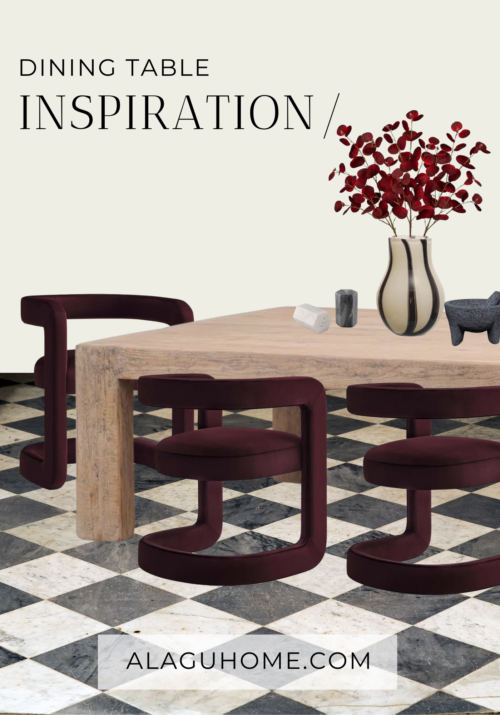
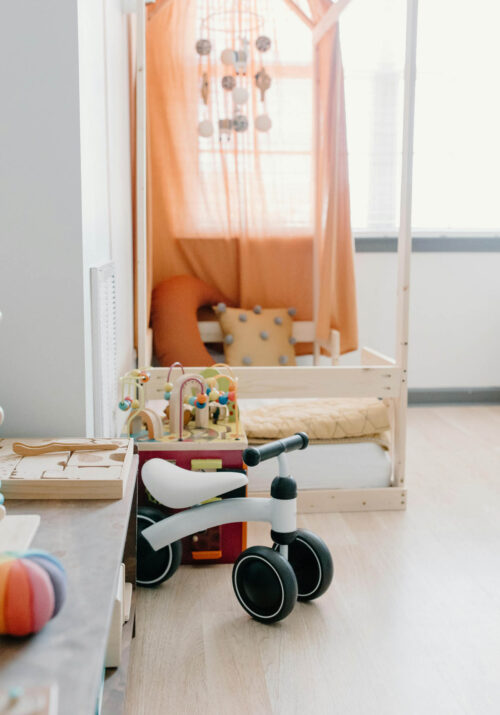
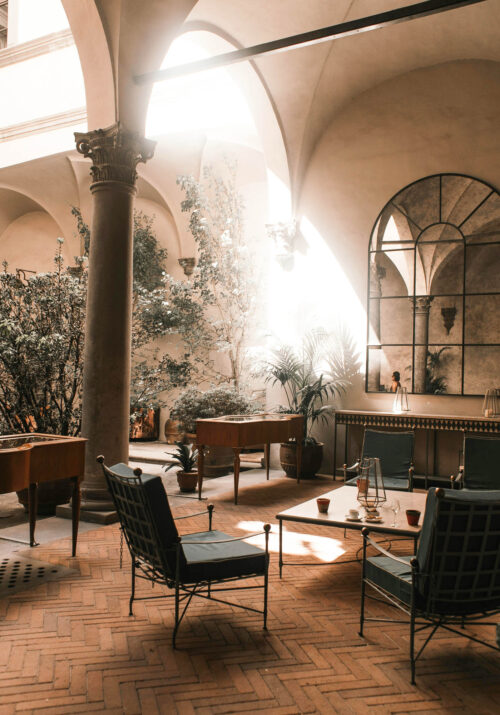
Designing a space that authentically mirrors your individual style involves a meticulous approach beyond randomly selecting furniture and decor items. A strategic design mood board serves as an invaluable tool in this creative process, guiding you to make informed decisions, avoid costly mistakes, and ultimately shape a living space that resonates with your unique personality.
In this comprehensive blog post, we will explore the multifaceted uses of mood boards and take you through three straightforward yet crucial steps to meticulously craft your own design moodboard.
Mood boards function as a visual roadmap, ensuring a seamless integration of all elements within your space. Whether you’re in the initial stages of defining an overarching style for a room, seeking inspiration for a specific item, or strategizing the optimal placement for decor, a well-constructed moodboard provides clarity and helps you envision the holistic design before committing to any decisions.
In my design practice, I employ two distinct types of mood boards to streamline the creative process. The first type involves collecting inspiration from room photos, allowing me to discern the desired style and ambiance. The second type becomes more granular, featuring the exact room layout and furniture pieces I intend to incorporate.
Now, let’s delve into the three essential steps to build a design mood board that encapsulates your vision.
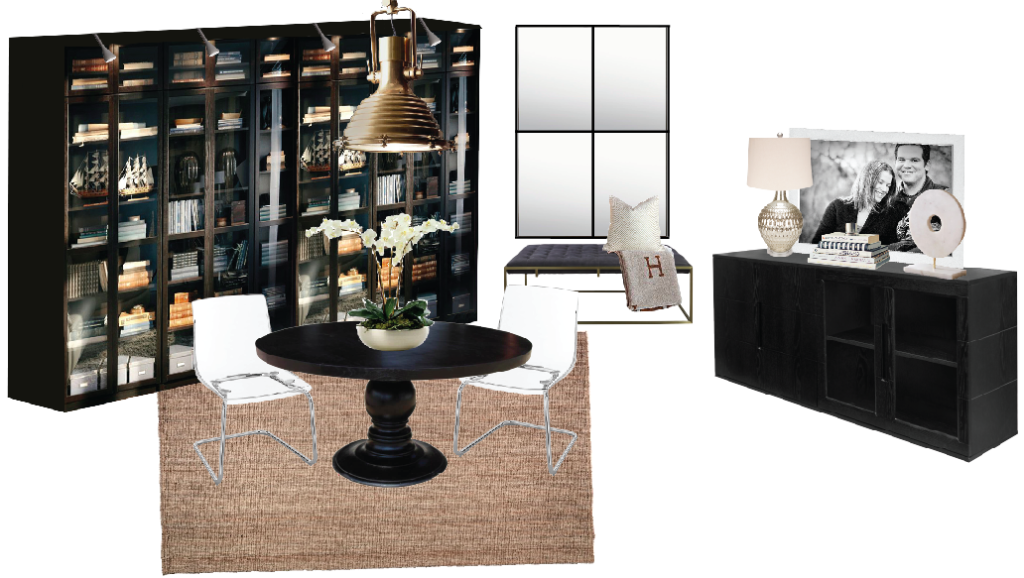
Step 1: Curate Your Inspirations
Initiate the process by curating a collection of images that encapsulate the essence of your design vision. Utilize Pinterest’s square search tool to discover exact or similar items. Installing the Pinterest button extension widens your resource pool, enabling you to pin images of furniture directly from the internet.
When selecting images, prioritize those with plain backgrounds to maintain focus on your design concept. Embrace collaboration by inviting friends or collaborators to contribute opinions and comments, enriching the diversity of ideas on your board.
Step 2: Organize and Customize Your Moodboard
Once you have gathered a curated set of inspirational images, consider refining them further. If necessary, use tools like Photoshop to remove backgrounds, ensuring a clean and cohesive visual appeal. Transition to a design platform like Canva, open a blank canvas, and strategically arrange the images to mirror your envisioned design.
Elevate your mood board by incorporating color swatches, specifying preferred brands, and clearly labeling the style you aim to achieve. This meticulous step transforms abstract ideas into a tangible and cohesive visual representation.
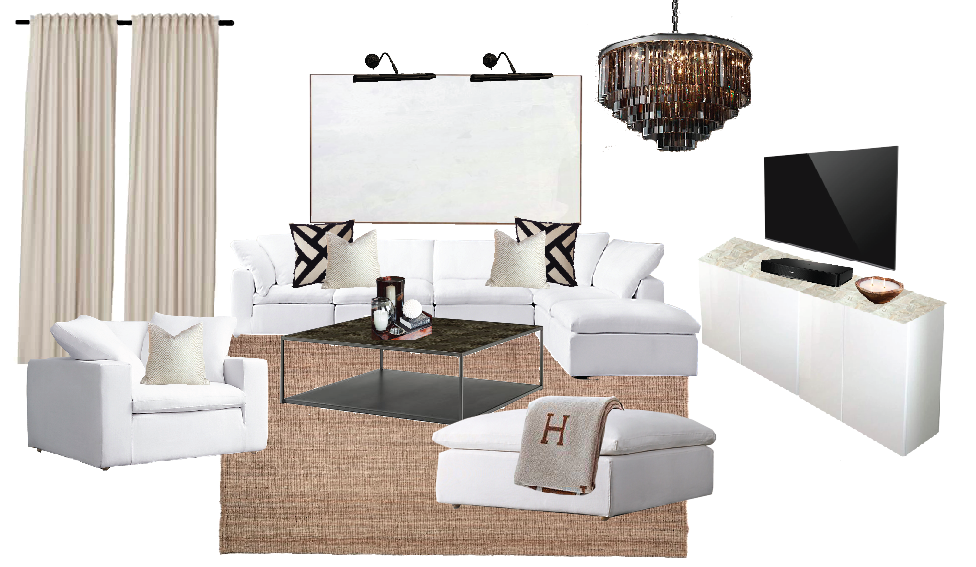
Step 3: Bring Your Design to Life
Take the final leap by translating your mood board into a tangible living space that closely mirrors your envisioned design. Consider critical factors such as floor color, window size, and preferred paint colors. Experiment with arranging furniture in a layout that replicates your actual room, allowing you to visualize the spatial dynamics. Engage in the creative process by experimenting with different combinations until you achieve a design that not only pleases but genuinely delights you.
The ultimate goal is not merely to like your space but to love it and revel in the excitement of the design journey.
Uncover the essential elements to elevate your design mood board to new heights – delve into this insightful guide to learn three additional key components that will transform your creative vision into a visual masterpiece!
While curating your moodboard, consider the addition of textural elements and a material palette to enhance the sensory appeal of your envisioned design. Incorporate images or swatches that showcase different textures, such as plush fabrics, rustic woods, or sleek metals.
This inclusion not only provides a visual representation but also allows you to imagine the tactile experience within your space. A well-considered material palette ensures a harmonious blend of surfaces, adding depth and richness to your design vision.
Recognize that the creation of a design mood board is not a one-time task but rather an iterative process. Allow your moodboard to evolve as your ideas mature and solidify. Periodically revisit and refine it, incorporating new inspirations or modifying elements as your design concept takes shape.
This iterative approach ensures that your moodboard stays aligned with your evolving vision, resulting in a more precise and nuanced representation of your desired living space.
Infuse a personal touch into your moodboard by incorporating images or representations of sentimental artifacts, heirlooms, or pieces that hold emotional value. Whether it’s a family heirloom, a cherished travel memento, or artwork created by loved ones, integrating these personal elements adds depth and authenticity to your design narrative. This not only elevates the aesthetic appeal but also creates a living space that tells a unique story, making it truly yours.
Crafting a design moodboard is a transformative journey that ensures your living space becomes an authentic expression of your style and personality. By following these three essential steps and incorporating additional considerations, such as textural elements, iterative refinement, and personal artifacts, you’ll not only make informed decisions but also infuse your individuality into every nook and cranny of your home.
Embark on this creative adventure, and witness your design aspirations come to life, creating a harmonious and captivating living environment that reflects the essence of you. The inclusion of textural elements and a material palette elevates the sensory appeal, while recognizing the mood board as an iterative tool ensures precision and alignment with your evolving vision.
Furthermore, integrating personal artifacts adds a touch of sentimentality, creating a living space that not only pleases aesthetically but also tells a unique and meaningful story. Embrace this enriched creative process, and enjoy the excitement of designing a space that not only looks beautiful but resonates with the depth of your personal narrative.
