Decorating a Christmas tree is one of the most cherished holiday traditions, and with a few thoughtful steps, you can transform your tree into a stunning holiday centerpiece. Whether you’re working with limited space or dreaming of an opulent display, these detailed tips will help you create a beautifully cohesive and stress-free design and instruct you on how to decorate a Christmas tree perfectly.
This post may contain affiliate links, meaning I could earn a small commission if you make a purchase through my link, at no extra cost to you. You can read my full disclosure here. Thank you for supporting Alagu Home!
Choosing the Right Tree
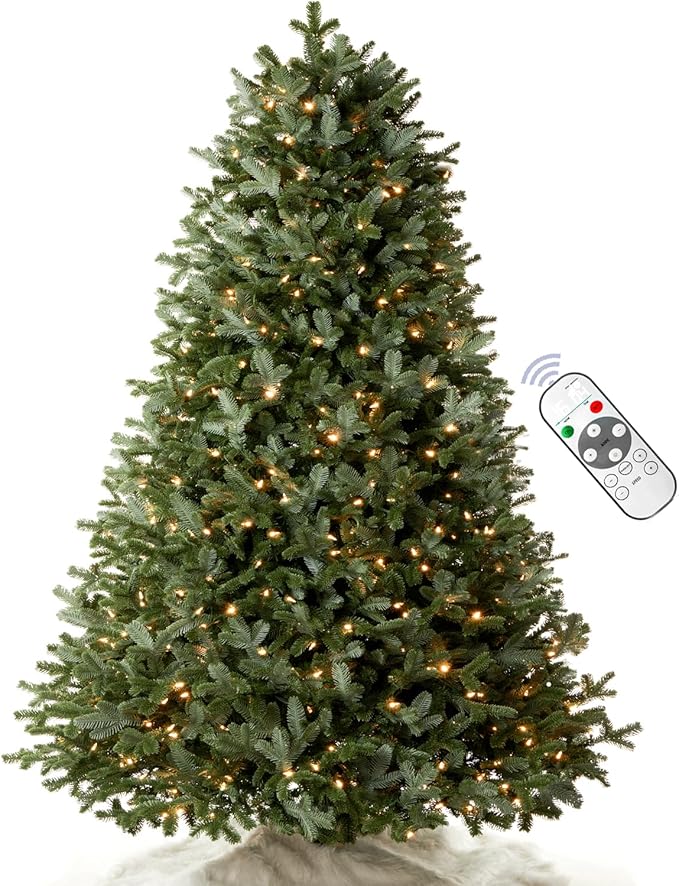
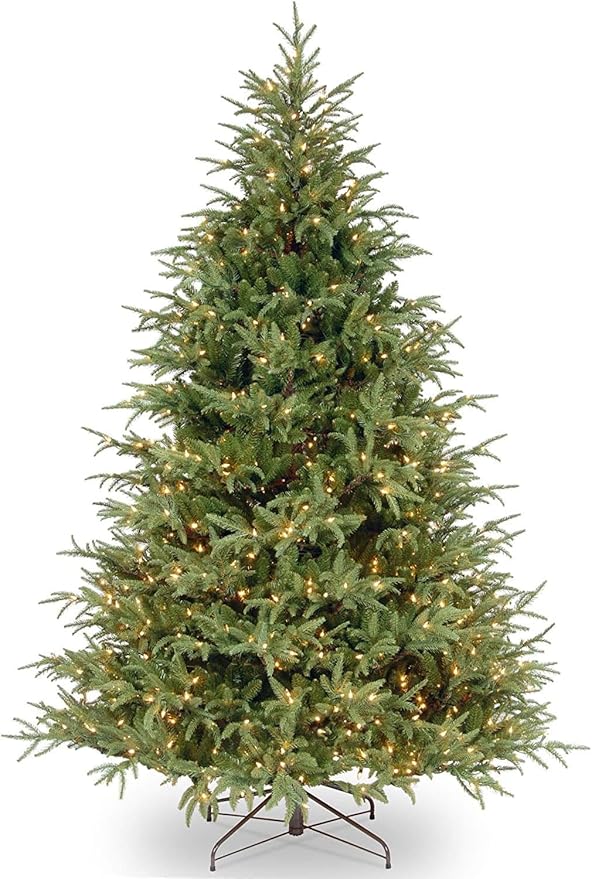
1. Opt for a Pre-Lit Tree
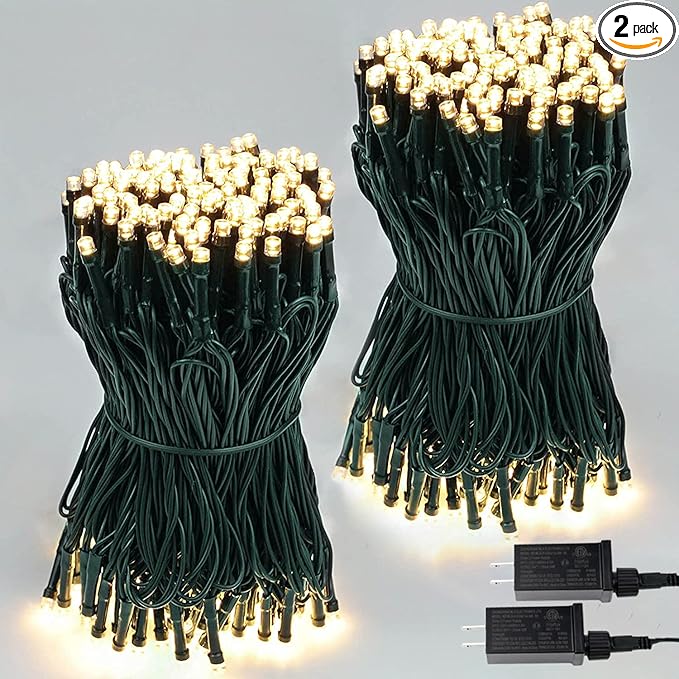
Pre-lit trees are a lifesaver for holiday decorating. They save time and eliminate the hassle of untangling light strings. If you find the built-in lights insufficient—especially in the inner branches—add twinkle lights to create a high-end look. Keep the lights on throughout the decorating process to help guide your placement.
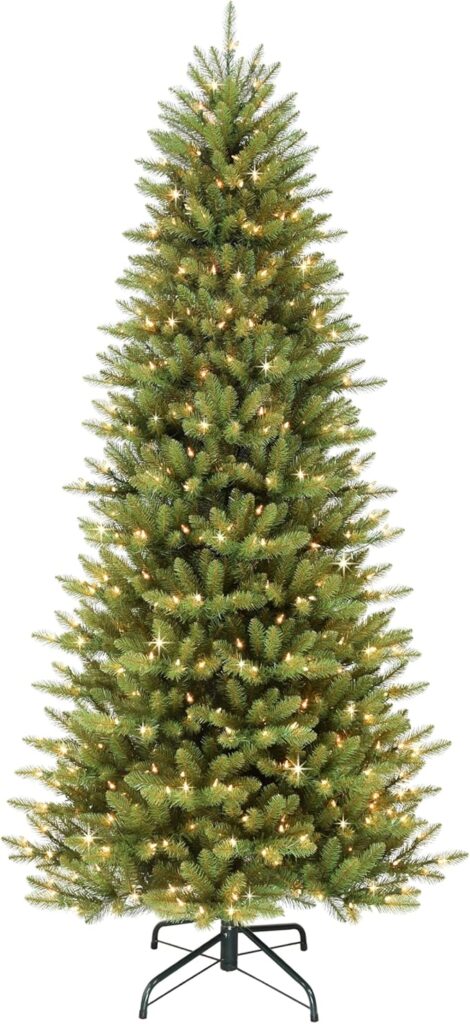
2. Pick the Perfect Size for Your Space
Choose a tree size that complements your space. For small apartments, a half-tree placed against a wall or window is a great space-saving option. Ensure the tree looks full, as a sparse tree can appear unfinished. If your budget allows, purchase an inexpensive second-hand tree to cut off extra branches and use them as fillers in your main tree.
Prepping Your Tree for Decorating
3. Fluff and Shape the Branches
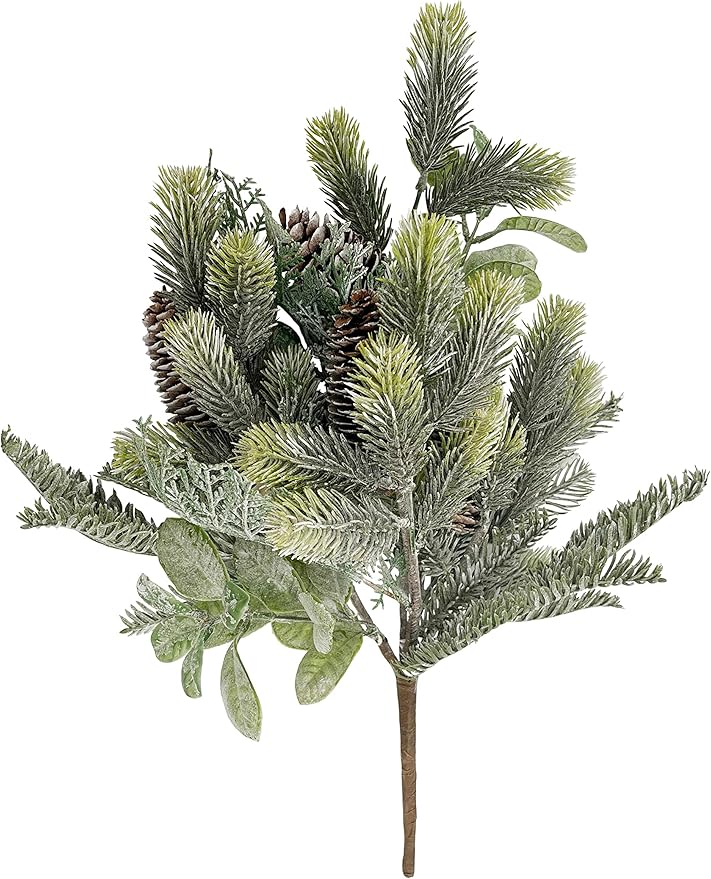
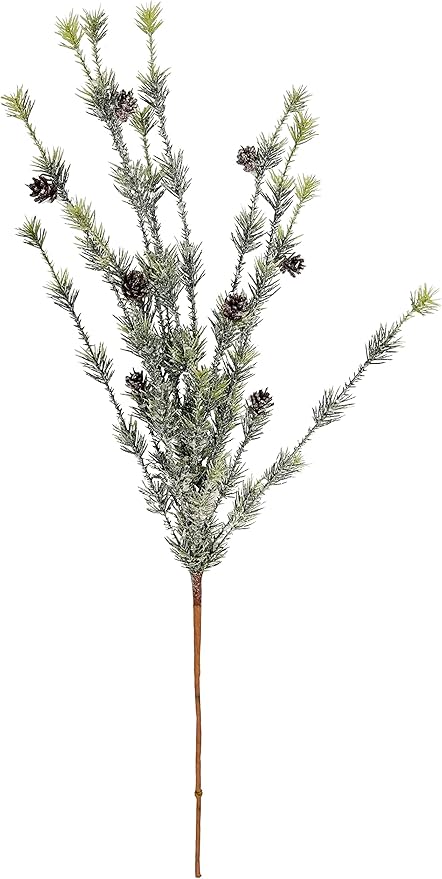
Begin by separating and fluffing each branch. This step is crucial for achieving a full, natural-looking tree. Pay special attention to gaps—these can be filled with greenery picks, dried stems, or extra branches to enhance the tree’s fullness.
4. Conceal the Base
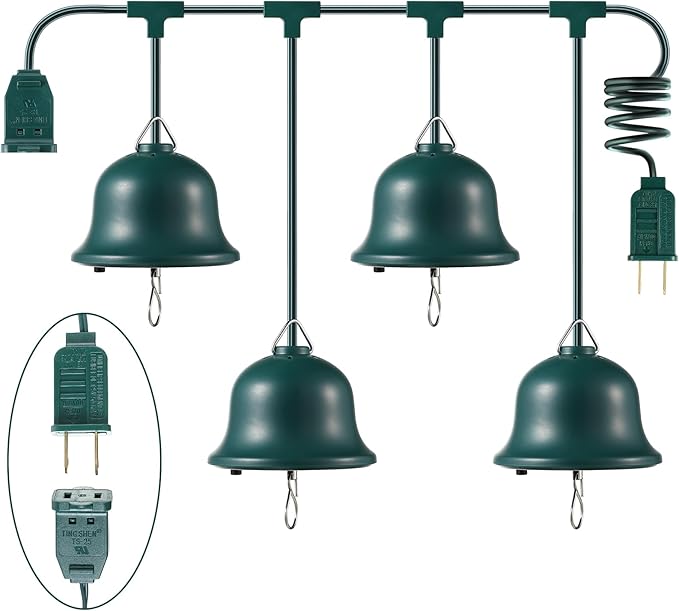
Cover the base with a tree skirt or layer a white fluffy throw blanket under fabric that matches your tree’s theme. If the branches start too high, wrap a greenery garland around the trunk to disguise the frame before adding the skirt. Plug all lights and wires under the skirt, leaving only one extension cord visible, and add a foot switch for easy light control.

Discover how to decorate a Christmas tree beautifully with creative tips and festive ideas that will transform your holiday space—keep reading for inspiration!
Lights, Picks, and Topper
5. Strategically Place the Lights
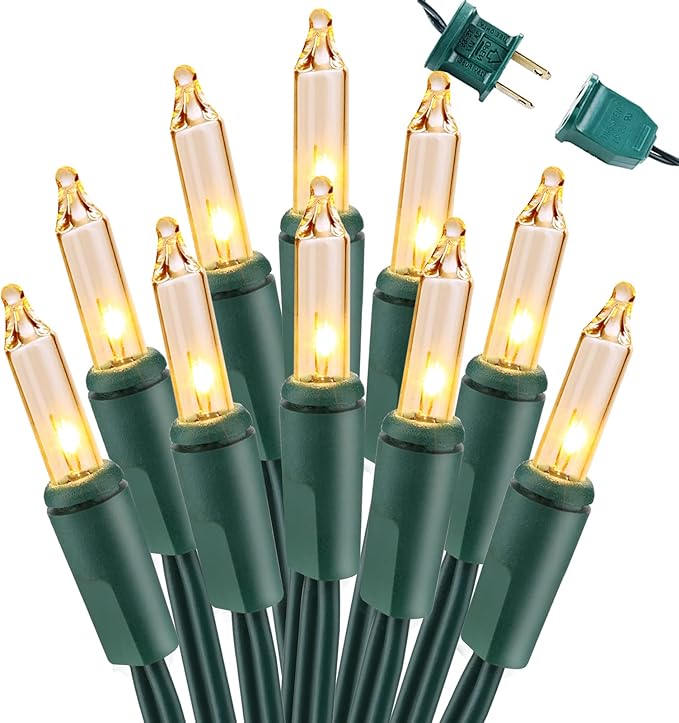
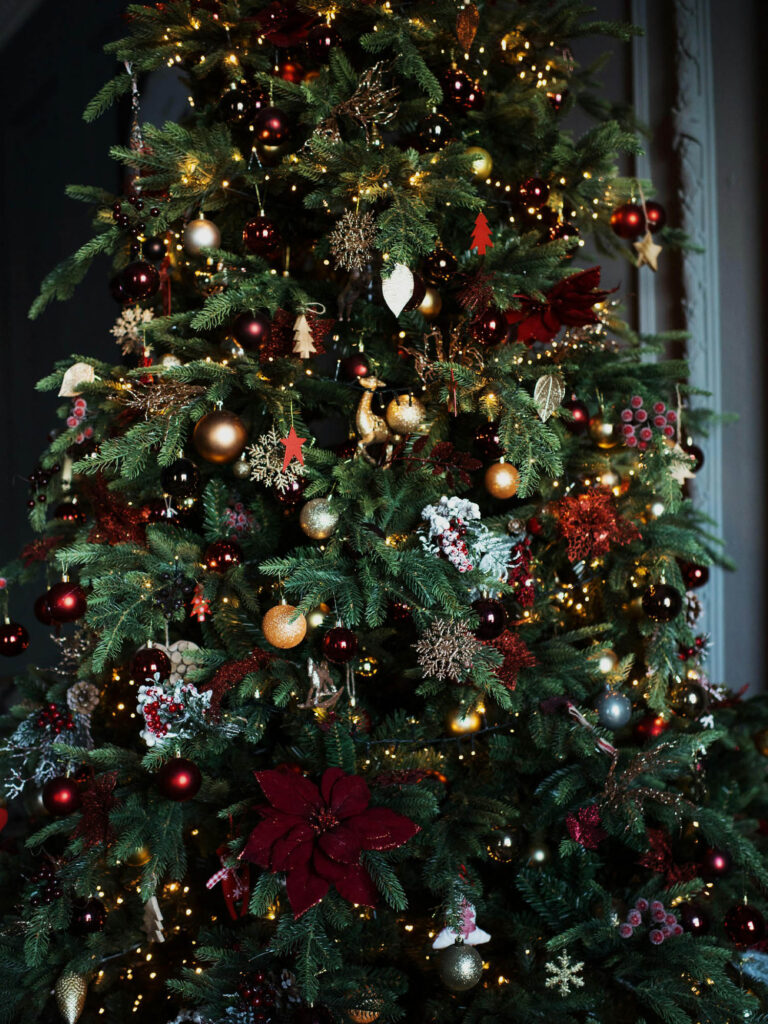
Follow the golden rule: 100 lights for every 1.5 feet of tree height. Instead of wrapping lights in circles, run them vertically up and down the tree for a polished appearance. Yellow lights create a warm, candle-like glow, while twinkling or fading lights are often considered less elegant.
6. Add Decorative Picks
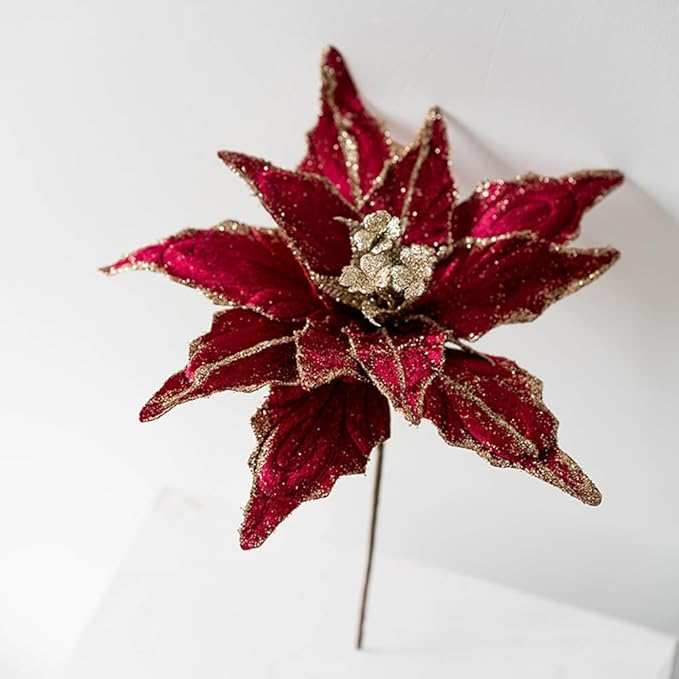
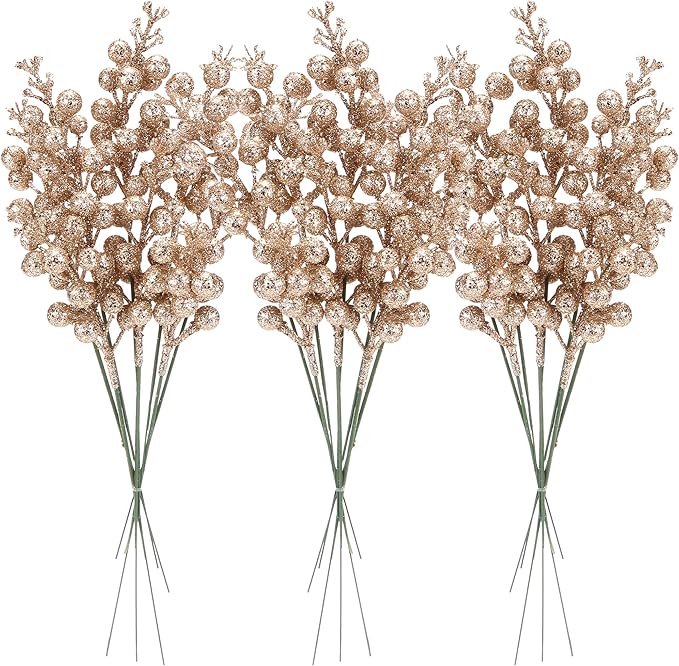
Eucalyptus branches, red berries, and gold accents are versatile picks that can be tucked into the branches to add texture and depth. IKEA’s eucalyptus picks are an excellent option for an affordable, sophisticated touch. Cluster a mix of picks at the top of the tree to form a unique topper.
Adding Ribbons and Ornaments
7. Use Wired Ribbons
Choose at least two ribbon styles in complementary colors—such as forest green, gold, or black—and start at the top of the tree. Use the “bridge and tuck” method: create a bridge across branches, tuck the ribbon into the tree, and repeat. Cut ribbons into lengths of at least 3 feet to create three loops per section.
8. Layer Ornaments Thoughtfully
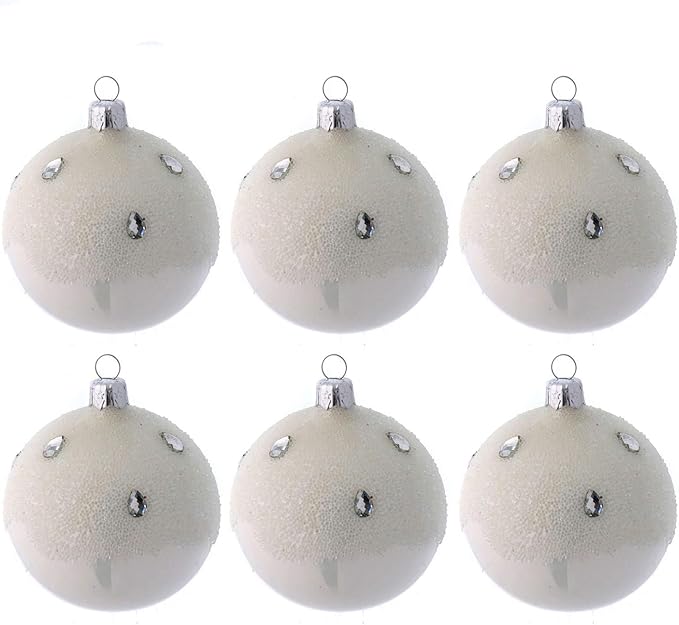
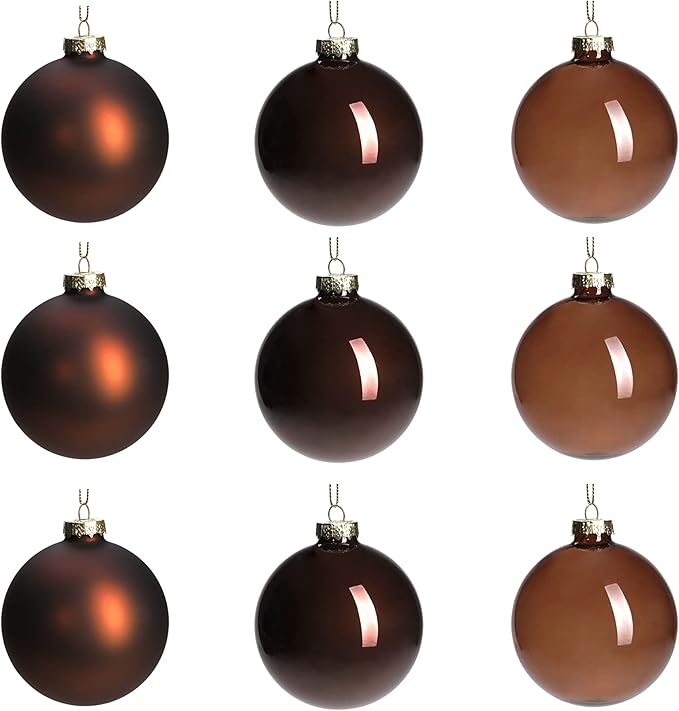
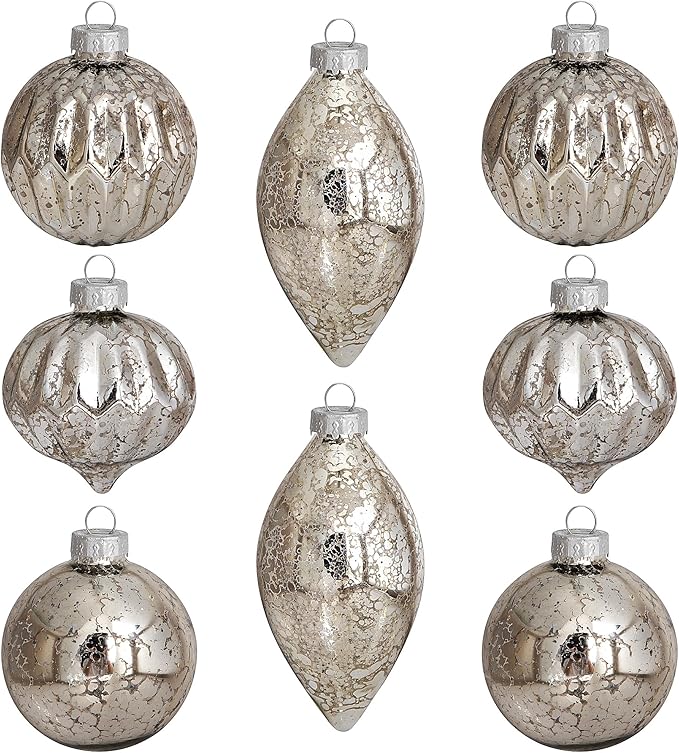
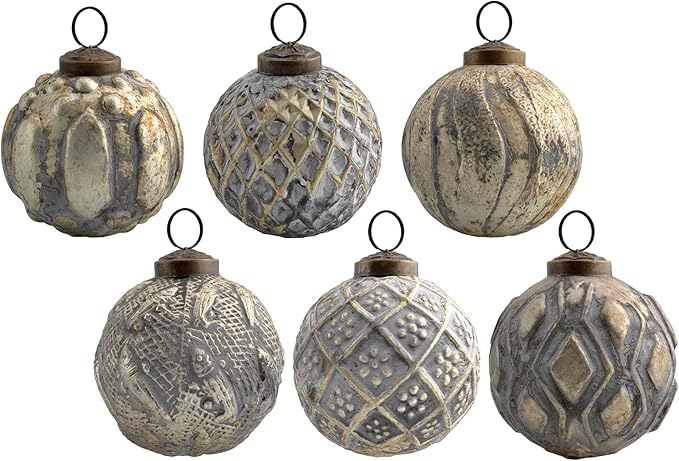
Start by placing large, inexpensive plastic ornaments deep inside the tree to create depth. Reserve high-quality, larger ornaments for the outer branches. Work by style, spreading each type evenly around the tree. Cluster smaller ornaments near the top, with larger ones as you move downward. Ensure ornaments dangle freely, rather than sitting on branches, for a professional look.
Keep reading to learn more tips and tricks on how to decorate a Christmas tree effortlessly and beautifully.
9. Incorporate DIY Details
If you can’t find or afford large ornaments, make clusters by stringing three ornaments of varying sizes onto a pipe cleaner. DIY ornaments add personality, while dried stems or floral picks bring a trendy, natural vibe to the design.
Finishing Touches
10. Add Fairy Lights and Spinners
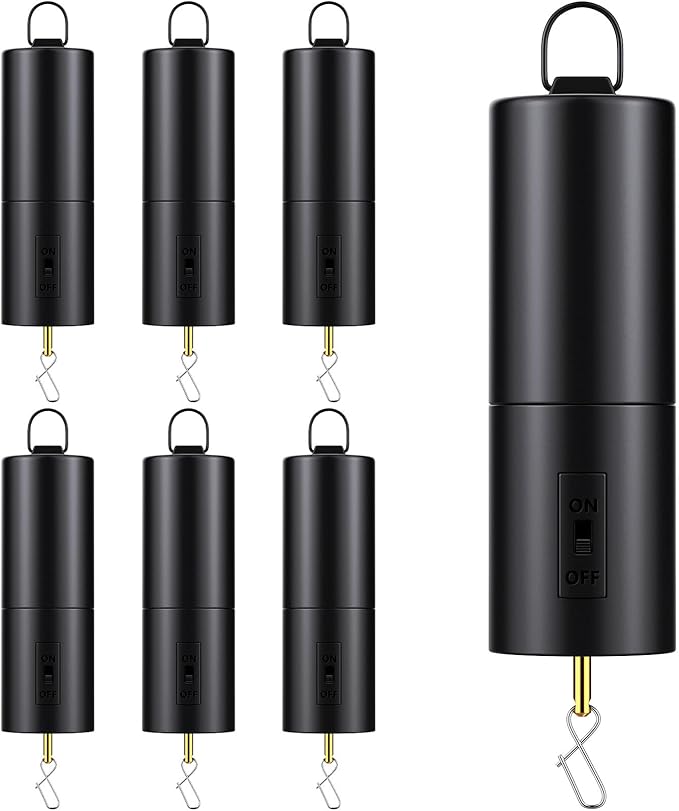
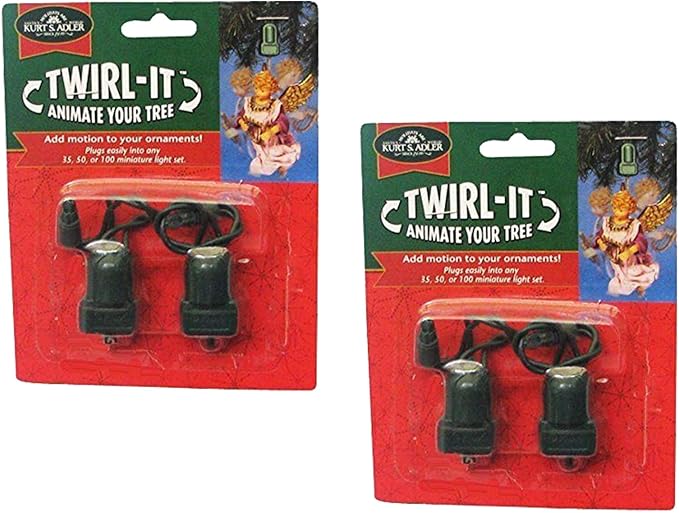
To illuminate dark areas and highlight decorations, add fairy lights that sit on the tree’s surface. Spinners should be placed last, ensuring they don’t touch other ornaments to keep them functional. Use hot glue and sprigs to camouflage spinner bases.
11. Spruce Up the Base
Finish by arranging a tree skirt or fluffy throw blanket around the base. Add empty, decorated gift boxes to complete the look.
12. Infuse a Holiday Scent
Spray your tree with a mix of water and pine essential oil for a fresh, natural aroma. This simple step elevates the sensory experience of your décor.
Storage Tips
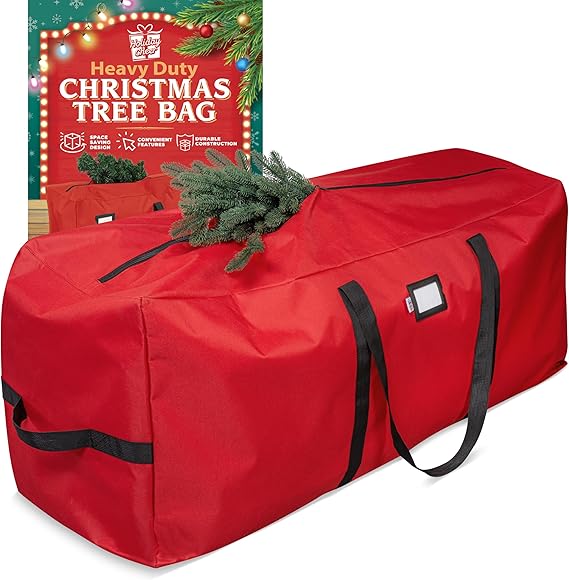
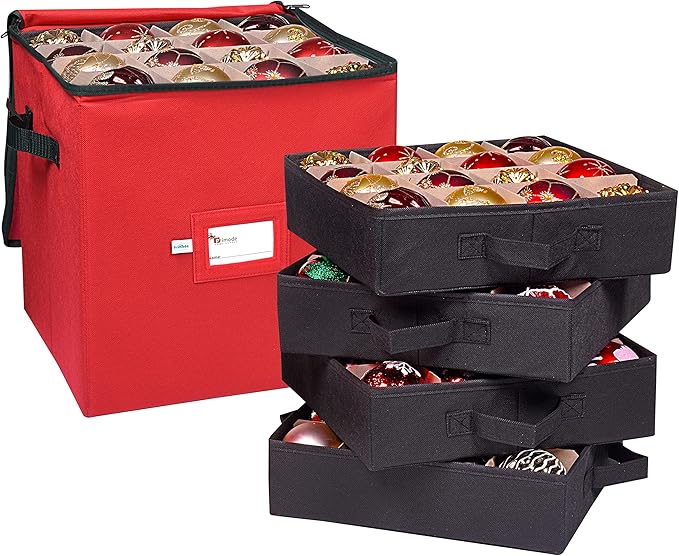
After the holidays, avoid the frustration of trying to fit your tree back into its original box; instead, invest in a large storage bag for your tree and use ornament bags and boxes to store decorations properly, ensuring everything stays intact for future use.
In conclusion, learning how to decorate a Christmas tree is more than just a festive activity—it’s a chance to infuse your home with holiday magic and express your unique style. By selecting the right tree, layering lights and ornaments thoughtfully, and incorporating personal touches like DIY decorations and holiday scents, you can create a tree that’s not only stunning but also meaningful. Remember, the key to a beautifully decorated tree is attention to detail and creativity.
So, gather your loved ones, turn on your favorite holiday tunes, and enjoy the process of transforming your tree into the dazzling centerpiece of your holiday décor.
