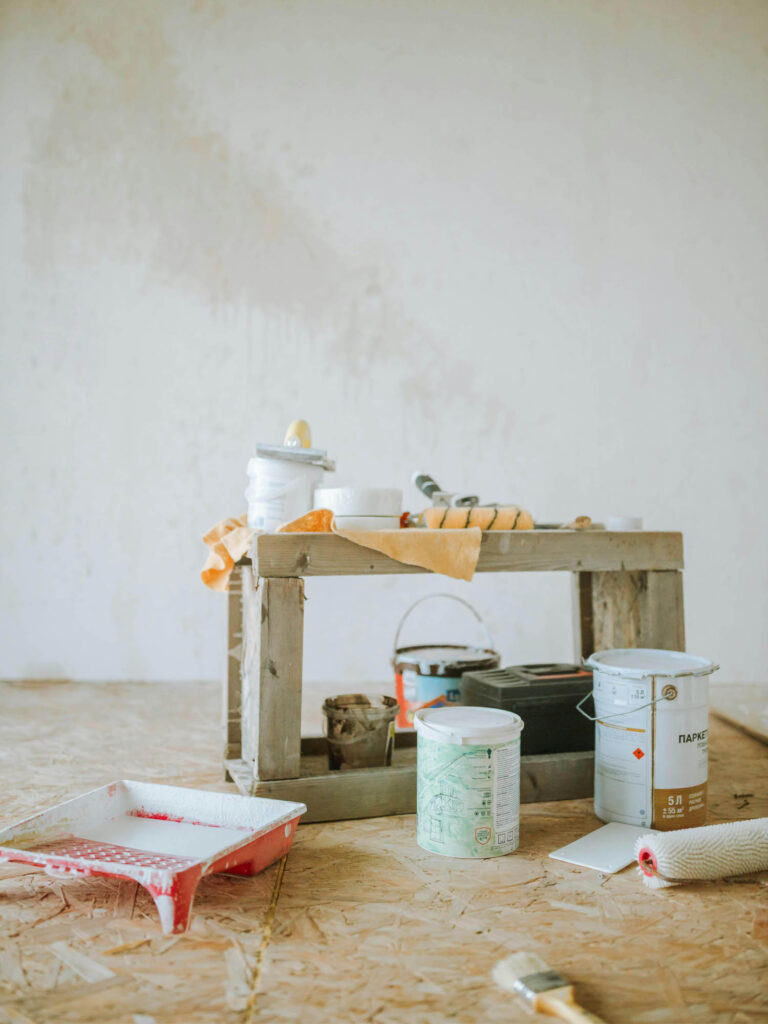
Embarking on a painting project is a gratifying endeavor, promising a renewed aesthetic for your living space. Yet, the key to achieving a flawless finish lies in the meticulous preparation of the room.
In this detailed guide, we will explore essential steps to ensure your space is thoroughly primed for painting success. From the initial task of clearing the canvas to achieving crisp, clean lines, each step contributes to making your painting project a seamless and rewarding experience.

Clear the Canvas – Empty the Room
The first stroke in the canvas of painting success is creating a blank slate. Remove all furniture, accessories, and wall-hung items. Large, immovable pieces should be carefully positioned in the center of the room and meticulously covered.
This step is crucial for eliminating potential obstacles that could impede the painting process.
Don’t forget to remove screws, nails, anchors, or hanging systems from the walls, unless you plan to return items to their original spots post-painting, in which case leaving screws in place can serve as a helpful guide.
Protect the Foundation – Cover and Tape
Preserving the integrity of your floors is paramount during a painting project. Safeguard them from potential paint splatters by utilizing plastic sheeting secured with painter’s tape along the baseboards.
A meticulous approach to sealing ensures no paint seepage, providing protection for your floors and simplifying the cleanup process.
This foundational step sets the stage for a smooth and organized painting project.
Wall Preparation – Clean, Repair, and Smooth
Preparing the walls thoroughly before applying paint is imperative for a flawless finish.
Start by cleaning off accumulated dust and dirt using a mixture of warm water and mild detergent. Address imperfections with wall spackle, striving for a smooth and even surface. Utilize a spatula to press lumps back into the wall and fill holes. Smooth the surface with 80 coarse sandpaper, ensuring an ideal canvas for the upcoming paint application.
Caulk and Seal – Achieve Professional Edges
Achieving professional edges is a hallmark of meticulous preparation. Inspect baseboards and corners for gaps, applying paintable caulk with a caulk gun. Opt for precision by avoiding the use of fingers; instead, use a spatula covered with a damp cloth for a precise 90-degree angle. Sand the caulked areas with 240 sandpaper, rubbing in circles for a refined appearance.
Wipe baseboards with a damp rag and walls with a dry one, presenting a pristine surface ready for transformation.
Prep Electrical Outlets – Switch off, Cover, and Tape
Safety considerations are paramount when dealing with electrical outlets. Switch off the breaker for the room and remove all switch covers, taping the screws to the back for safekeeping. Cover outlets with painter’s tape to prevent any inadvertent paint intrusion into the holes.
Ensuring both the safety of the painter and the integrity of the electrical components within the room is vital.

Master the Art of Taping – Crisp Lines, No Bleeds
Taping is an art form critical for achieving crisp lines and avoiding paint bleeds. Distinguish between painter’s tapes based on color – the color indicating the level of stickiness.
Start by taping off baseboards and ceilings, leaving baseboards for the final painting stage. Apply tape in one long strip, rather than in small pieces, and ensure a tight seal using the corner of a credit card pressed firmly along the baseboard and wall.
This meticulous approach contributes to a seamless look and professional finish.
Achieving Crisp Lines – Attention to Detail
For areas like ceilings or light fixtures, bag them securely and tape off meticulously. Run a damp cloth along the tape line to ensure a crisp, no-bleed finish. Attention to detail during the taping process is paramount. It guarantees professional-looking edges and contributes to an overall flawless paint job.
Taking the time to execute each step with precision ultimately results in a more satisfying and visually appealing outcome.
Selecting the Right Paint and Tools – Quality Matters
Choosing the right paint and tools is an often-overlooked but critical step in the painting process. Invest in high-quality paints and brushes to ensure a smoother application and a more durable finish.
Consider the type of surface you’re painting and select the appropriate paint formulation. Quality tools contribute significantly to the final result, reducing the likelihood of streaks, drips, or uneven coverage.
Time Management – Plan for Drying and Curing
Effective time management is key to a successful painting project. Consider the drying and curing times of your chosen paint. Allow sufficient time between coats to ensure proper adhesion and a long-lasting finish.
Plan the project with an awareness of the climate, as humidity and temperature can affect drying times.
Patience in this phase ensures that your efforts result in a beautifully painted space that stands the test of time.
Meticulously following these essential steps, including the addition of selecting the right paint and tools and effective time management, is the key to a successful painting project.
This approach not only enhances the aesthetics of your space but also streamlines the entire process.
As you embark on this creative journey, may your painting experience be marked by precision, satisfaction, and the joy of transforming your living space.
Happy painting!


